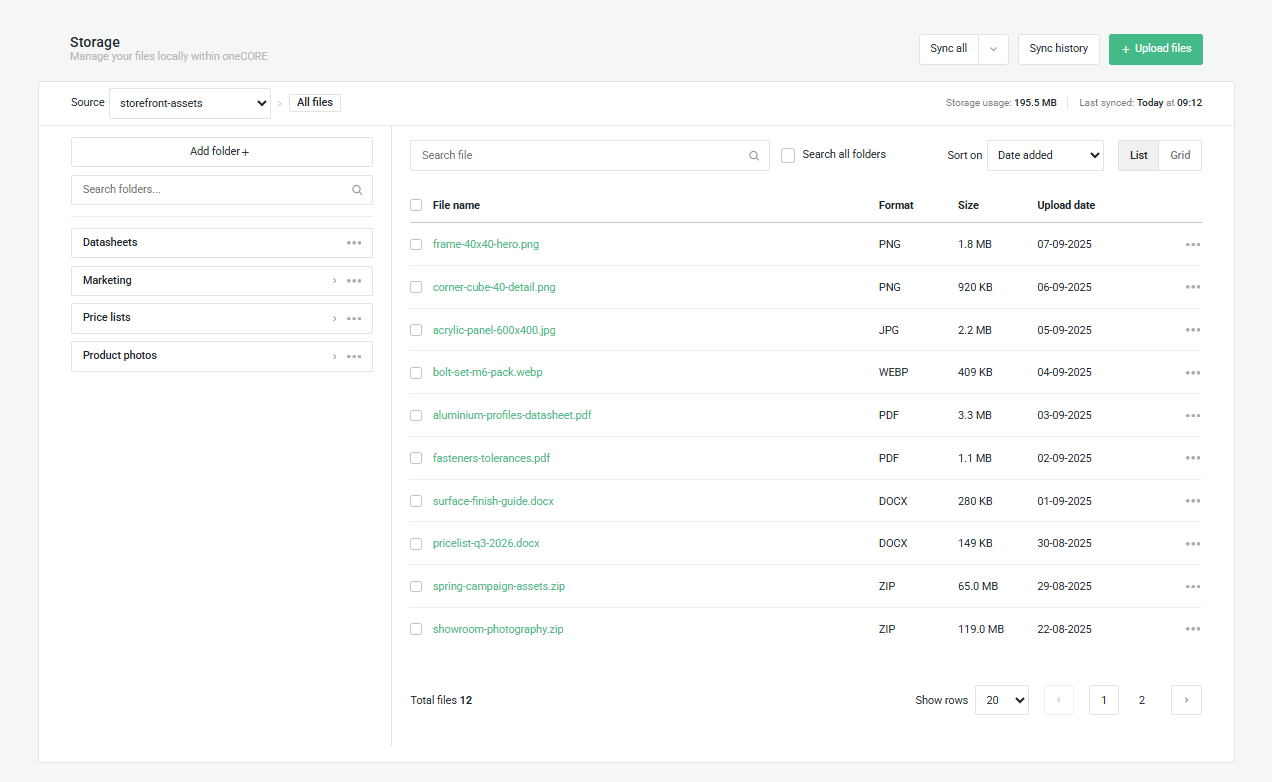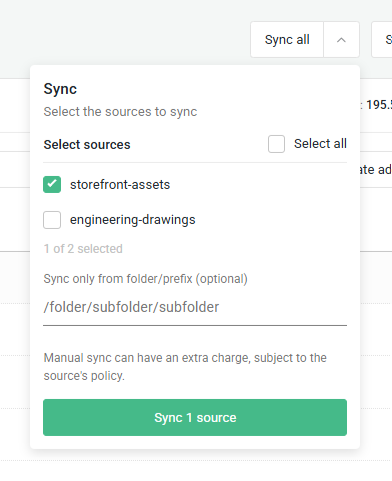

oneCORE does not host your files itself. Instead, you connect one or more Cloudflare R2 buckets, and each connected bucket appears as a source in Storage. You keep full ownership of your buckets and manage them in your own Cloudflare account. Setting up Storage takes steps on both the Cloudflare side and the oneCORE side.
Connect a bucket
Connecting a bucket takes two parts: allowing oneCORE to access the bucket in Cloudflare, and adding the bucket as an API setting in oneCORE.
Cloudflare setting
Connect with Cloudflare, you must navigate to Storage & Database > R2 Object Storage > [bucket name] > Settings > CORS Policy and click Add.
Paste the policy below and replace https://your-domain.com with the domain you shop's URL. This allows oneCORE to upload files to your bucket.
oneCORE setting
1. Go to API settings under Management menu and click Add.
2. Select the type CloudFlareR2Bucket.
3. Fill in the settings below and save.
4. Go to Files menu > Storage. Connected buckets will appear as sources. Files that are already in the bucket appear in the library after the first sync.
CloudFlareR2Bucket API settings
1. Type: CloudFlareR2Bucket
2. ApiValue1* to input the Access key
3. ApiSecret1* to input SecretKey
4. ApiValue2* to input Bucket name
5. ApiSecret2* to input Cloudflare account ID
There is no limit to the number of buckets. Create the API settings for every bucket you want to connect.